
Sun Prints Twisted Ribbon - A Stamping with Friends Blog Hop


Hey, Stampers!  It's time for another blog hop...so welcome and thank you for joining us!  If you are new to my blog, Stamping with Friends is a group of Stampin' Up! demonstrators who share our love of card making with you through monthly blog hops with various themes. If you are following the hop, then you'll have just popped over from Nancy Reynolds' blog-Stampin with Nutsy. I hope you took a minute to leave a comment for her as I'm sure she'll appreciate it just as much as I will. If you are starting the hop with me, thank you so much and I hope you enjoy what I and the other hoppers have prepared for you today!

So our theme this month is a strip card project.  What is a strip card project you may ask? A strip card is an opportunity...an opportunity to use up all those little scraps of Designer Series Paper (DSP) that you've been hoarding.  The best thing about Stampin' Up! DSP...it's double-sided and each side coordinates with the other beautifully.

I've been wanting to try the "Twisted Ribbon" technique and this hop was a godsend that allowed me to actually stop "wanting" to do and actually "do" it.  While not hard, it does require a bit of concentration...at least on my part...definitely couldn't do it dead tired...I'd make a mess.

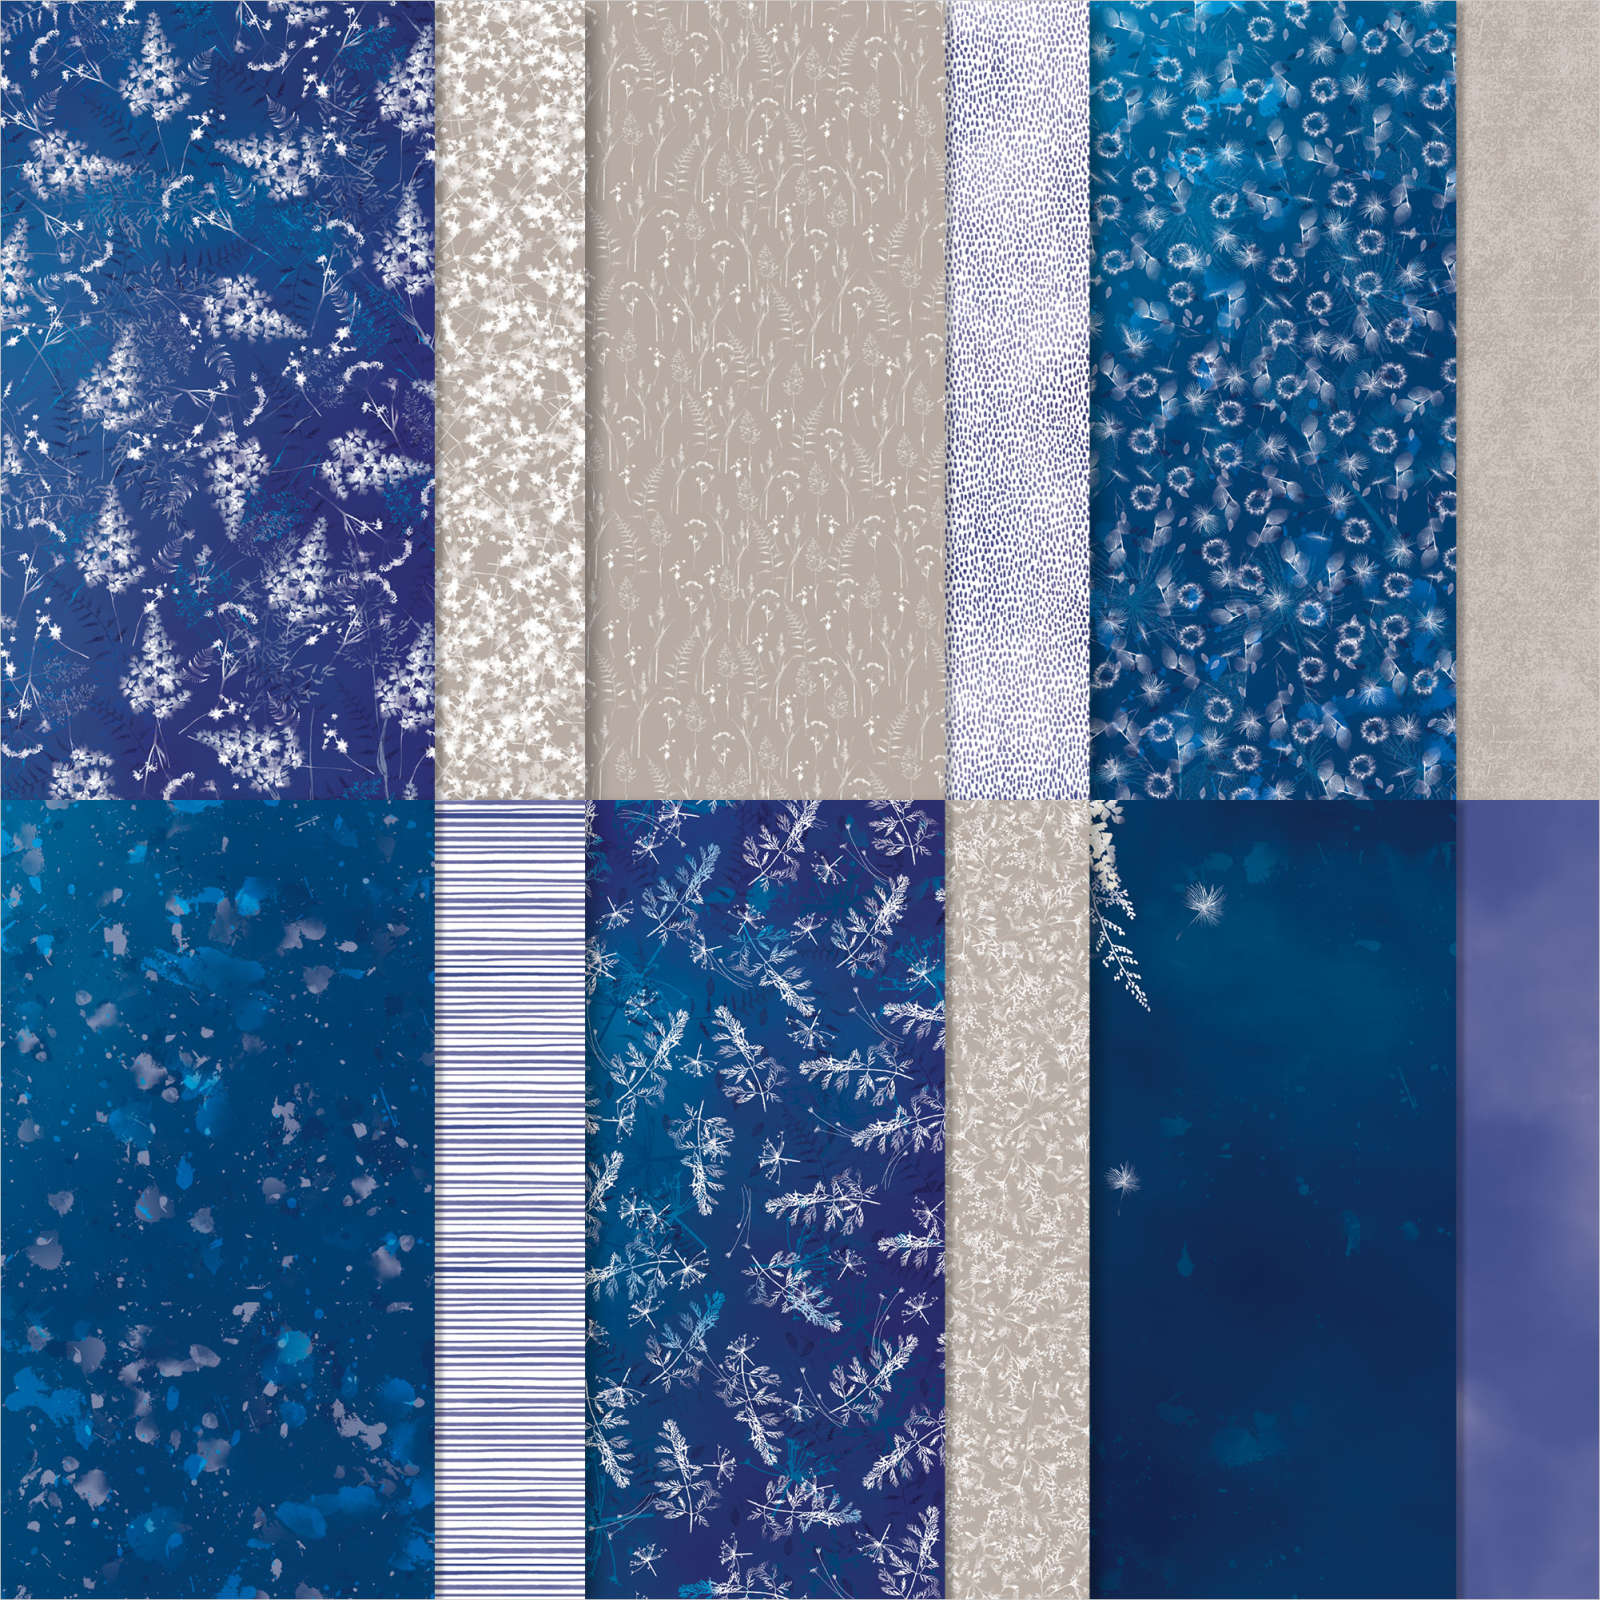
One of the first products that I fell in love with and had to have when I first saw the catalog, was the Sun Prints Suite Collection.  Oh my goodness...my favorite color is blue and this suite fed my love of blue...see what I mean...


Measurements:

Basic White: 

 - A2 card base in basic white (4 1/4" x 5 1/2")

 - 3 3/4" x 5"

 - scrap for sentiment

Blueberry Bushel: 2" x 5"; 4" x 5 1/4"; scrap 

DSP: 1/2" strips (length doesn't matter...it just has to be longer than the width of the 1" Blueberry Bushel panel.  In this case, I cut my strips 1/2" x 2 1/2"

You may also need a pencil and ruler or just use the pencil and Stampin' Up! grid paper...your choice.

Here we go...

First, on the 1" Blueberry Bushel panel, on both sides (the 5" side") make 1/2" tick marks.  (I'll show you what I mean on a piece of basic white.)

Disclaimer: This is not Stampin' Up!'s Designer Series Paper...when I'm designing or making my first draft, I NEVER use my Stampin' Up! Designer Series Paper (DSP)...it's just too pretty to waste if I make a mistake in the designing process.

I decided to start with the "muted" side of my DSP (that's completely up to you).  Using the tick marks as a guide, adhere those stips to the panel starting in the corner (steps 2 - 4).

Next you'll adhere the focal print going in the opposit direction...this is the part where you need to be somewhat alert in order to ensure proper placement (steps 5 - 6).  Continue in this placement until the end.  Note:  I cut 6 strips of each pattern...depending on what size you cut your strips, you may need more or less.

Trim the excesses off the new panel you've created with your snips and now you've completed the "twisted ribbon" portion of the card.

Emboss the Basic White panel with the Pretty Flowers Embossing Folder (or any other of your choosing).  Using liquid adhesive, adhere the twisted ribbon panel to the embossed basic white panel.  Adhere this panel with Foam Adhesive Sheet (dimensionals if that's your preference) to the Blueberry Bushel card then adhere the entire panel to the card base.

Stamp your sentiment and using your preferred label punch or die cut it out.  Create a mat layer for your sentiment. Using dimensionals, add the sentiment panel to the card front.  Embellish at will.


And there we have it...not a difficult card at all...just a little patience.  I hope you'll give it a go.  If you do, make sure to share what you've created with me on my FB page. Not a member of my FB page?  No worries, click HERE to join/follow my page.

Scroll down just a little further to see all the products I used to create this card.  

If you'd like to purchase any of these products and don't have a Stampin' Up! demonstrator on speed dial (or any other dial for that matter), I'd absolutely love to be your Creative Expressions artist (read that as your demonstrator). Don't have a catalog and would like one?  Contact me and share with me your email and I'll get you the digital version ASAP.

As a card maker, I'm constantly embarrassed by how often I send out birthday cards AFTER the fact...go figure.

If you are anything like me, then today is fitting for you. July 2nd celebrates National I Forgot Day. This day is one to simply “not remember”. If you have ever wished you had an excuse for those things you somehow let slip your mind, today you have it! You can celebrate today by just letting yourself forget.

Some celebrate today a bit differently. Another way to enjoy National I Forgot Day is to make good with all of the things/days/events that you forgot to acknowledge. Send a card or greeting to that certain someone and apologize for “forgetting” it.

A third and final way to look at, or celebrate, National I Forgot Day, is to take any bad memory that you have stored (or if you are just having a bad day) and simply – FORGET it!

Thanks for stopping by to see my project. Leave me a comment and be *eligible to receive this card. (Only non-demonstrators will be eligible to enter the drawing to receive the card.)

Comments

  1. This is an Amazing technique that I have never tried💙I am definitely going to give this a go💙Thanks for the Beautiful card inspiration

    ReplyDelete
    Replies
    1. So glad you enjoyed it! Thanks for hopping OXOXOX

      Delete
  2. I love the technique, I haven't tried this one yet but plan on trying it before too long! Lovely card!

    ReplyDelete
    Replies
    1. Thanks, Nancy! Can't wait to see what you make! Happy Stampin'

      Delete
  3. Love what you've done here - a great technique

    ReplyDelete
    Replies
    1. Thank you! Let me know if you try it! Happy Stampin'

      Delete
  4. Replies
    1. You are so welcome! Thanks for stopping by! Happy Stampin'

      Delete

Post a Comment

Popular posts from this blog

Countryside Shapes - A Stamping With Friends Blog Hop

  Hello everyone, and welcome back! It's the third Saturday of the month...time for another Blog Hop!  Thank you for joining us for another Stamping with Friends Blog Hop!  If you are new to my blog, Stamping with Friends is a group of Stampin' Up!® demonstrators worldwide who share our love of card-making through monthly blog hops with various themes. If you are following the hop, you'll have just popped over  from  Mickey Moore - "2 Moore Stampers's " blog .  I hope you took a minute to leave a comment for her as I'm sure she'll appreciate it as much as I will. If you are starting the hop with me, thank you so much and I hope you enjoy what I and the other hoppers have prepared for you today! Our theme this month is all about shapes...circles, squares, rectangles, animal shapes...whatever that means to you.  I chose to use a hexagon shape for my quick and easy project.  I hope you enjoy this card and that you will try to make one or two for yourselve

So Very Merry - A Stamping With Friends Blog Hop

Hello everyone, and welcome back... and thank you for joining us for another Stamping with Friends Blog Hop!  If you are new to my blog, Stamping with Friends is a group of Stampin' Up!® demonstrators, from all over the world, who share our love of card-making through monthly blog hops with various themes. If you are following the hop, then you'll have just popped over  from  Kelly Taranto - "The Late Night Stamper's  blog .  I hope you took a minute to leave a comment for her as I'm sure she'll appreciate it as much as I will. If you are starting the hop with me, thank you so much and I hope you enjoy what I and the other hoppers have prepared for you today! On July 6, Stampin' Up! released the newest round of Online Exclusive products. What are Online Exclusives you may ask? These are a category of products you will not be able to find in any Stampin' Up! catalog...and let me tell you, sometimes, these products are snapped up within day...(wink, wink.

Die-Bossing with Two Tone Flora

Hello, everyone, and welcome to May...the month of Mother's Day and Memorial Day... and thank you for joining us!   If you are new to my blog, Stamping with Friends is a group of Stampin' Up! demonstrators from all over the world (Canada, UK, and USA) who share our love of card-making through monthly blog hops with various themes. If you are following the hop, you'll have just popped over  from Lorraine Tierney of ChatnCraft with Lorraine's blog.  I hope you took a minute to leave a comment for her as I'm sure she'll appreciate it just as much as I will. If you are starting the hop with me, thank you so much and I hope you enjoy what I and the other hoppers have prepared for you today! For this hop, we are focusing on a technique...creating embossed panels with dies--thinlets or framelits. This is the first time I've tackled this particular technique...not sure why...but for sure I'll be incorporating it more in my bag of tricks.  I decided to make a ver