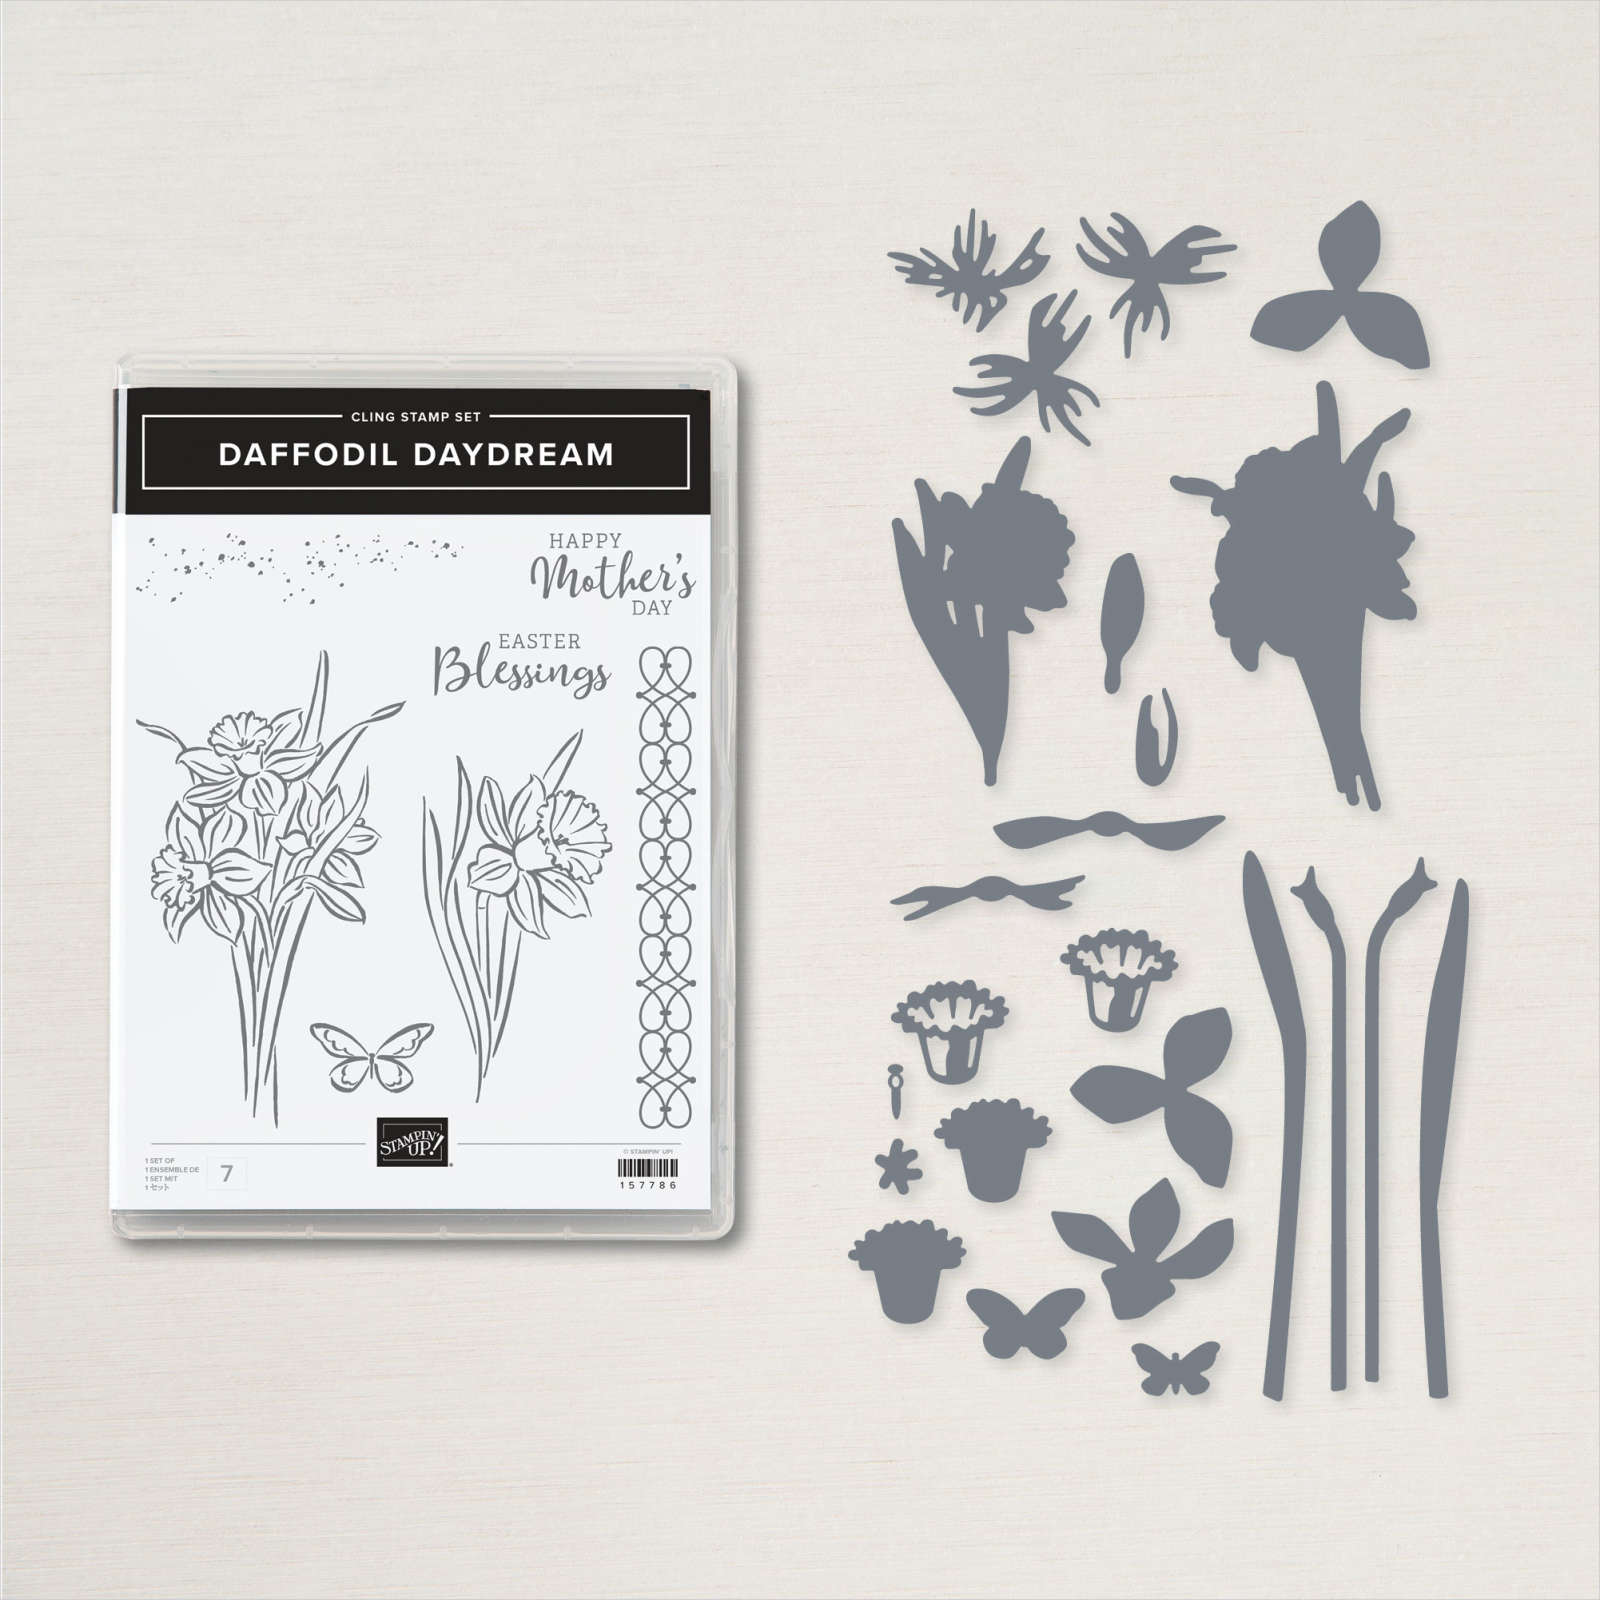
Thanks for stopping by today to see what I have in store for you! I'm going to have fun with the Daffodil Daydream bundle from the newly released Stampin' Up! January- June 2022 Mini Catalog. Pefect for sooo many occasions.
In this project today, we are featuring the masking, tone-on-tone stamping to create your own background, multiple heat embossing, and ink blending techniques...all of which I tend to use regularly in my cardmaking.
This card project used minimal supplies as you can see and was very easy to create.
1. Before you start stamping, cut the following paper pieces:
• 8-1/2" x 5-1/2" Pale Papaya Cardstock
• 3-1/2" x 5" Pale Papaya Cardstock
• 2-1/2" x 4" Basic White Cardstock
• 2" x 3/4" Basic White Cardstock
2. On the center of the 2-1/2" x 4" Basic White piece, stamp the single daffodil image from the Daffodil Daydream Stamp Set in Vesafine Claire ink. Repeat this step, stamping onto a sticky note. This will be the mask you use to try the masking technique!
3. From the Daffodil Dies, pick the die that coordinates with the single daffodil image. Align the die with the daffodil stamped on the sticky note and run it through a Stampin’ Cut & Emboss Machine to cut. (Either of our machines will work.) You can also fussy cut the image with snips.
4. Stick the die-cut daffodil on top of the daffodil stamped on Basic White Cardstock. Using a Blending Brush, gently apply Pineapple Punch ink in a circular motion over and around the daffodil. Next, pick up some color with the Wink of Stella pen to color in the floral image. I chose to highlight the main daffodil flower. When done, remove the sticky note from the daffodil.
5. With Vesafine Claire ink, stamp the set’s "Easter Blessings" sentiment onto the 2" x 3/4" Basic White piece. Add the clear embossing powder and heat emboss using the heat tool.
Create the card base by folding the 8-1/2" x 5-1/2" piece in half and scoring at 4-1/4", then use foam adhesive sheet to adhere the 3-1/2" x 5" piece to the center of the card base. Adhere the remaining pieces to the card front, then embellish with a few Brushed Brass Butterflies!
Check out the YouTube video to see how I made this card.
Product List


Beautiful card and sample! Thanks for sharing.
ReplyDeleteLove the colors and how you highlighted the flower. Great job!
ReplyDelete